How to Remove Bottle Cap Liners
If you are reading this post then I’m sure that you are familiar with the many applications for bottle caps. From various jewelry projects to other innovative craft projects bottle caps are great to work with. However, with every good thing, there always seems to be a bad thing tagging along and this bad thing for bottle caps would have to be the plastic liner that they sometimes come with. These plastic liners seem to be almost impossible to remove no matter what tool you use. UGH!!!
Today I’m going to show you how to remove these plastic liners with this very quick and easy solution. Items needed include some type of tool with good grip to pull the liner out-my tool of choice are tweezers, a cloth or hot pad to protect your fingers when bottle caps get hot and a heat source-my tool of choice is going to be my coffee maker. Yes, you read it right-I said my coffee maker.
Instructions
1.) Place bottle cap with the liner in it, cap side down on the hot plate of your coffee maker. This is the place on your coffee maker below the coffee pot. Leave bottle cap on this heated hot plate for about 2 minutes.
2.) While bottle cap is heating, go ahead and get your cloth or hot pad ready to protect your fingers.
3.) When time is up, remove bottle cap from hot plate and using your pulling tool of choice place tool underneath the plastic liner and pull the liner out.
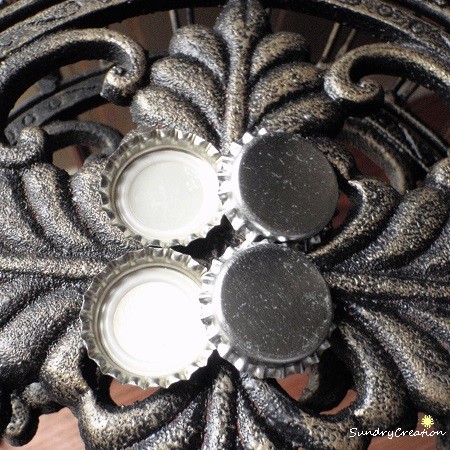
As you can tell removing, the plastic liner will sometimes also remove some of the finish from the bottle caps. This is totally fine since the surface is still completely flat and you will be applying an image over this area anyway. No worries, no one will ever be the wiser.
That’s all there is to it. It’s quick. It’s easy and it’s a great cheap solution for removing those liners from your bottle caps. Until next time, allow inspiration to find you!


